Use
Linked Wavelet Layers (example Sylvain Weiller)
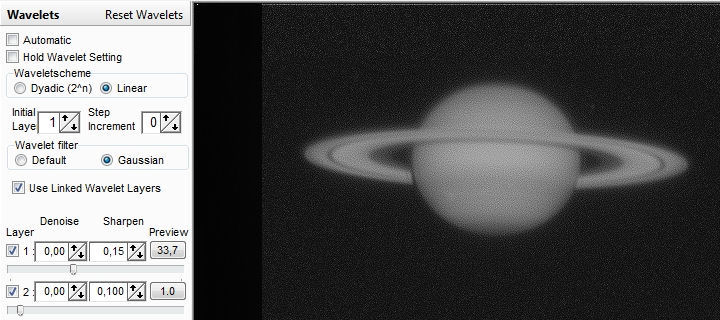
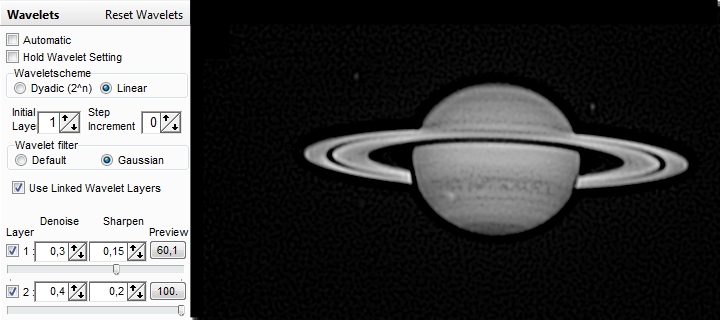
After stacking 1492 frames out of 1512, this Saturn image is the starting point at the wavelet page
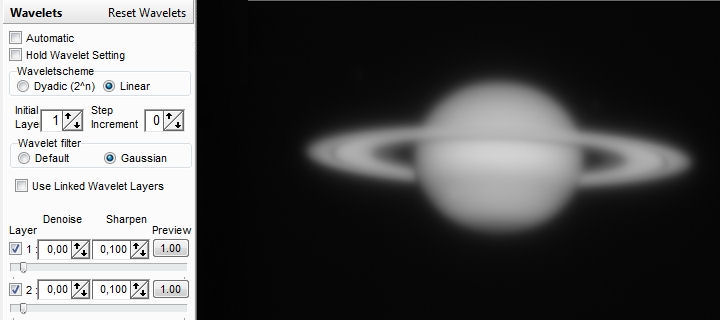
In RegiStax 6 we can trap the noise and sharpen the image directly in Layer 1. This would be the normal approach to enhance this image using wavelets.
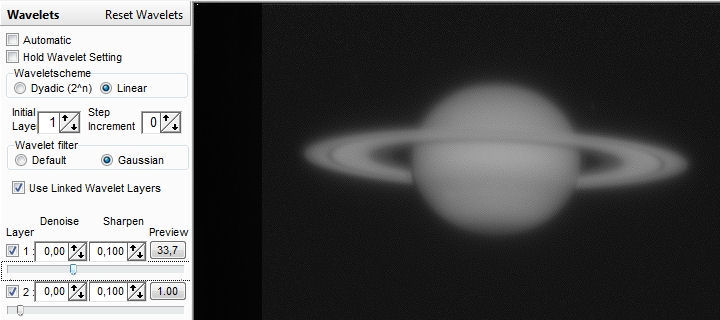
In the following images I show how Linked Wavelets can enhance the details differently.
First checkmark the Linked Wavelet checkbox and then move the slider of the 1st layer up.
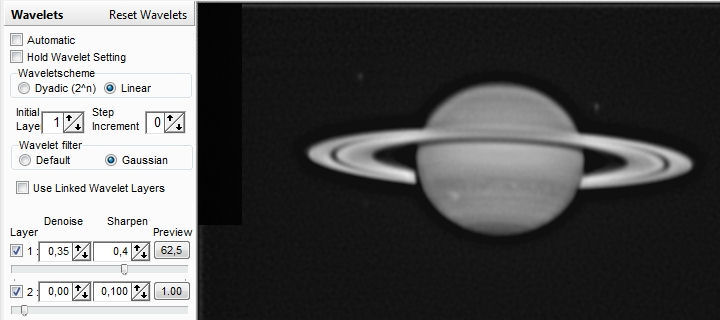
Step 2 : Now increase the Gaussian Sharpen filter from 0.10 to 0.15. This clearly makes noise very visible.
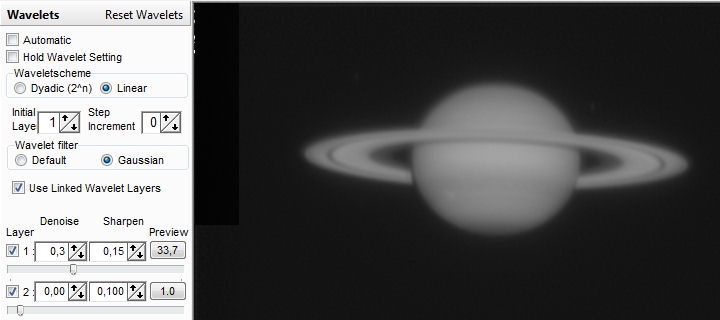
Step 3 : To counter this noise we increase the size of the Denoise Filter of layer 1.
Step 4 : We follow the same approach for Layer 2 (first sharpen, then denoise)
Step 6 : After setting the deringing tool I move wavelet layer 2 slider ... further up.
Step 7 : And finally I push the slider of wavelet layer 1 further up.
The processing was aimed to enhance details on the cloud structures caused by the huge storm.
Note : The Details seen in this processed image (red layer) are not artifactual as they are found in other amateur images and also in a March 2011 Hubble image
After stacking 1492 frames out of 1512, this Saturn image is the starting point at the wavelet page
In RegiStax 6 we can trap the noise and sharpen the image directly in Layer 1. This would be the normal approach to enhance this image using wavelets.
In the following images I show how Linked Wavelets can enhance the details differently.
First checkmark the Linked Wavelet checkbox and then move the slider of the 1st layer up.
Step 2 : Now increase the Gaussian Sharpen filter from 0.10 to 0.15. This clearly makes noise very visible.
Step 3 : To counter this noise we increase the size of the Denoise Filter of layer 1.
Step 4 : We follow the same approach for Layer 2 (first sharpen, then denoise)
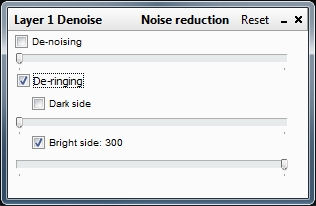
Step 5 : When processing this Saturn in
RegiStax6 with linked wavelet layers, I found that the external
deringing tool gave excellent results allowing me to use higher
wavelet values which increase small details but keep the noise under control.
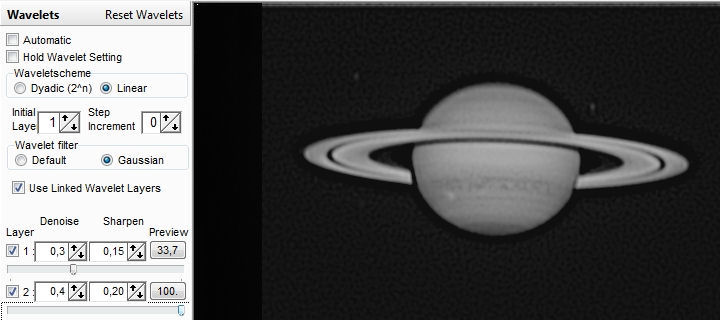
Step 6 : After setting the deringing tool I move wavelet layer 2 slider ... further up.
Step 7 : And finally I push the slider of wavelet layer 1 further up.
The processing was aimed to enhance details on the cloud structures caused by the huge storm.
Note : The Details seen in this processed image (red layer) are not artifactual as they are found in other amateur images and also in a March 2011 Hubble image